King’s Hawaiian Cheesecake Danish

The King’s Hawaiian Cheesecake Danish is a delectable treat that combines the rich creaminess of cheesecake with the irresistible softness of King’s Hawaiian bread, creating a perfect harmony of sweet and fluffy delight. This dessert has quickly won over hearts with its tender texture, balanced sweetness, and an inviting aroma that fills your kitchen with warmth. Whether enjoyed as a breakfast indulgence or a comforting dessert, the King’s Hawaiian Cheesecake Danish offers a unique experience that is both nostalgic and exciting for everyone’s taste buds.
Why You’ll Love This Recipe
- Perfect Texture Harmony: The soft, pillowy King’s Hawaiian bread pairs flawlessly with smooth, creamy cheesecake filling for an unbeatable bite.
- Sweet but Balanced: This recipe isn’t overly sweet, letting the natural flavors of cream cheese and Hawaiian bread shine.
- Simple Ingredients: You don’t need a pantry full of rare items; everyday ingredients come together to create a gourmet-feeling pastry.
- Versatile for Any Occasion: It’s equally perfect for breakfast, brunch, or an afternoon snack, hitting all the right notes whenever you indulge.
- Easy to Customize: Adapt the recipe with fruits, nuts, or glaze to suit your mood or dietary preferences without stress.
Ingredients You’ll Need
This recipe relies on a handful of essential ingredients that are key to replicating the soft texture and creamy richness that define the King’s Hawaiian Cheesecake Danish. Each ingredient plays its own role, building layers of flavor, smoothness, and aroma you’ll adore.
- King’s Hawaiian Bread: The star of the show, offering a naturally sweet, fluffy foundation for the cheesecake layer.
- Cream Cheese: Provides the luscious, tangy creaminess that makes the cheesecake filling irresistible.
- Sugar: Adds a gentle sweetness that ties together the bread and filling perfectly.
- Vanilla Extract: Enhances the flavor complexity with a warm, aromatic note.
- Egg: Acts as a binder for the cheesecake filling, ensuring it sets beautifully during baking.
- Butter: Brushed onto the bread or incorporated into the filling for added richness and a golden finish.
Variations for King’s Hawaiian Cheesecake Danish
One of the best parts about the King’s Hawaiian Cheesecake Danish is how easy it is to customize. Whether you want to add fresh fruits, experiment with flavors, or accommodate dietary needs, there’s a delicious variation that fits your style.
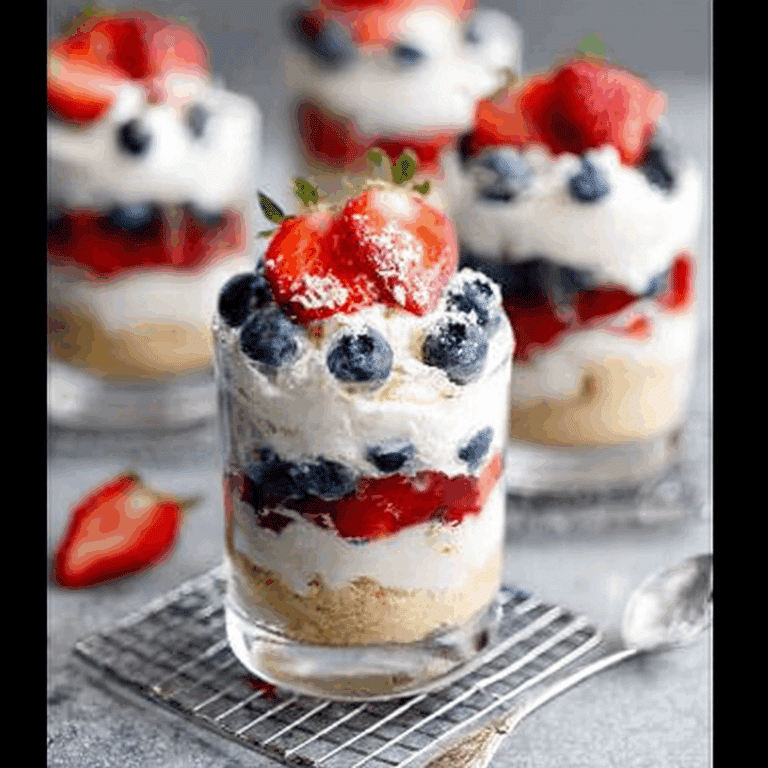
- Berry Bliss: Add blueberries or strawberries on top of the cheesecake filling for a fruity twist and vibrant colors.
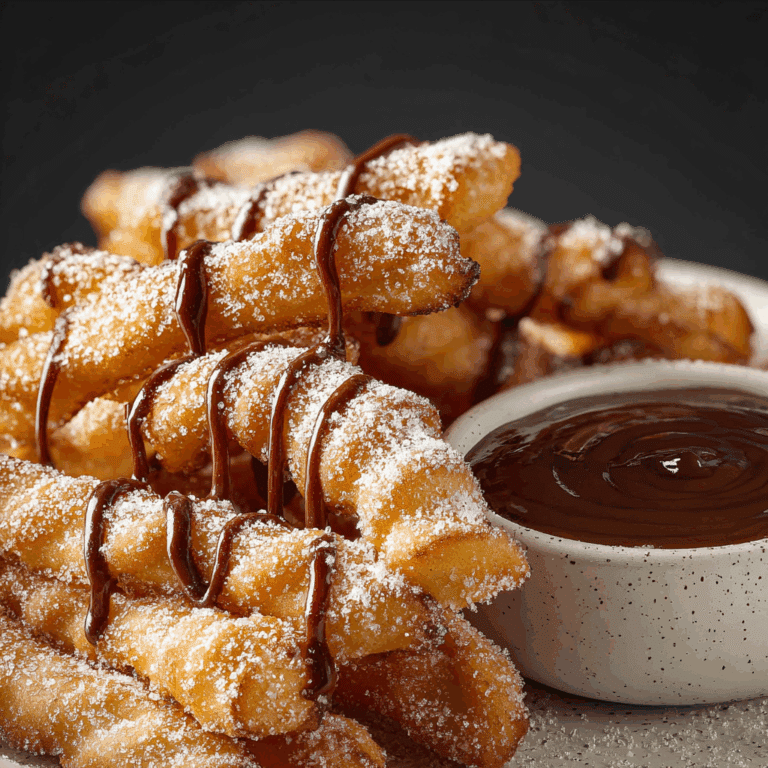
- Chocolate Drizzle: Finish with a drizzle of melted dark or white chocolate for a decadent touch.
- Nutty Crunch: Sprinkle chopped toasted almonds or pecans to add texture and subtle nuttiness.
- Gluten-Free: Use gluten-free King’s Hawaiian-style bread or a similar soft bread to enjoy this treat without gluten.
- Low Sugar: Swap regular sugar with a natural sweetener like honey or maple syrup for a milder sweetness.

How to Make King’s Hawaiian Cheesecake Danish
Step 1: Prepare the Cheesecake Filling
In a bowl, beat cream cheese until smooth. Add sugar, egg, and vanilla extract, continuing to mix until the filling is creamy and well combined, free of lumps.
Step 2: Slice the King’s Hawaiian Bread
Take fresh King’s Hawaiian bread and slice it into thick pieces or rounds that will serve as your base and hold the cheesecake filling.
Step 3: Assemble the Danish
On each bread slice, spread a generous layer of the cheesecake mixture. Make sure to leave a small border for the filling to puff without spilling over.
Step 4: Bake to Perfection
Preheat oven to 350°F (175°C). Arrange the filled bread slices on a baking tray lined with parchment paper, then bake for about 15-20 minutes, until the filling is set and lightly golden.
Step 5: Cool and Serve
Allow the danish to cool slightly before serving. This helps the cheesecake filling to firm up just enough while maintaining its creamy texture.
Pro Tips for Making King’s Hawaiian Cheesecake Danish
- Room Temperature Ingredients: Using room temperature cream cheese and eggs ensures a smooth filling without lumps.
- Don’t Overfill: Keep the cheesecake filling within the edges of the bread to avoid messy overflow during baking.
- Fresh Bread is Key: Use fresh King’s Hawaiian bread for maximum softness and rise.
- Watch Baking Time: Overbaking can dry out the bread or make the filling too firm—stick to the recommended baking time.
- Experiment with Flavors: Add a pinch of cinnamon or lemon zest to the filling for a subtle flavor boost.
How to Serve King’s Hawaiian Cheesecake Danish
Garnishes
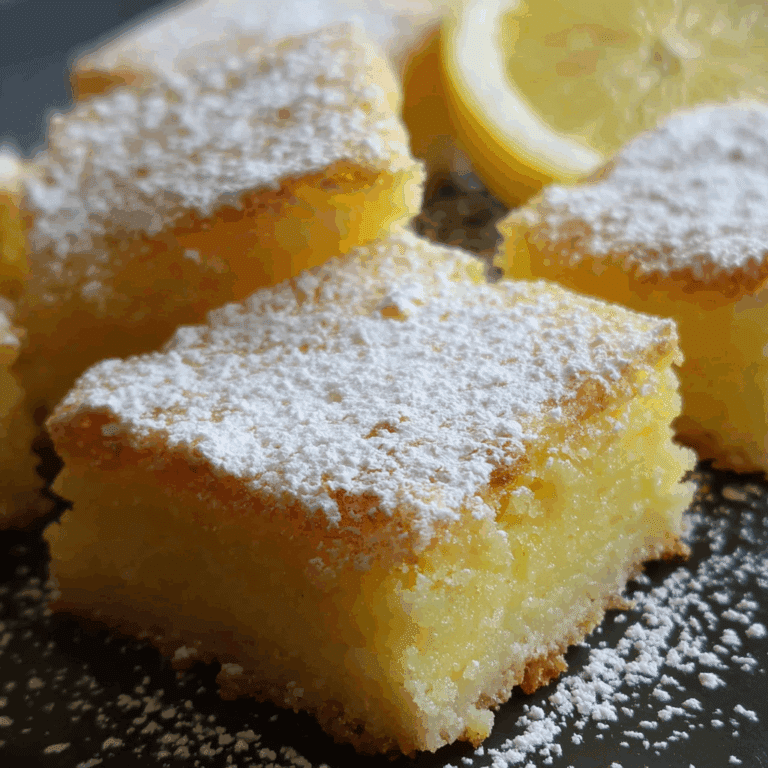
Adding fresh fruit like raspberries or a light dusting of powdered sugar enhances the visual appeal and adds a refreshing contrast to the creamy filling.
Side Dishes
Pair your danish with a hot cup of coffee, chai tea, or a glass of fresh orange juice for a balanced breakfast or snack experience that never feels heavy.
Creative Ways to Present
Serve the danish on a decorative platter with edible flowers or alongside small bowls of dipping sauces such as berry compote or honey for an interactive and elegant display.
Make Ahead and Storage
Storing Leftovers
Store leftover King’s Hawaiian Cheesecake Danish in an airtight container at room temperature for up to two days, or refrigerate to extend freshness up to four days.
Freezing
To keep your danish longer, wrap them individually in plastic wrap and place in a freezer bag. Freeze for up to one month and thaw overnight in the fridge before serving.
Reheating
Warm the danish gently in a microwave for 15-20 seconds or in a low oven (300°F/150°C) for about 5-7 minutes to renew the bread’s softness without melting the filling.
FAQs
What makes King’s Hawaiian Cheesecake Danish different from regular cheesecake?
The key difference lies in the soft, sweet King’s Hawaiian bread serving as the base, providing a fluffy and tender contrast to the creamy cheesecake topping, offering a unique texture combination.
Can I use any other type of bread for this recipe?
While King’s Hawaiian bread is preferred for its signature sweetness and softness, brioche or other soft, sweet breads can be substituted but may alter the final flavor and texture slightly.
Is this recipe suitable for kids?
Absolutely! The mild sweetness and creamy filling make King’s Hawaiian Cheesecake Danish a popular treat among children and adults alike.
How do I make the cheesecake filling less sweet?
Simply reduce the sugar amount or use natural sweeteners like honey or maple syrup to customize the sweetness to your liking.
Can I prepare King’s Hawaiian Cheesecake Danish in advance for a party?
Yes! Prepare and bake them a day before, then store properly and reheat gently before serving to keep them fresh and delicious.
Final Thoughts
Trying the King’s Hawaiian Cheesecake Danish is like discovering a delightful new favorite dessert that feels both comforting and special. With its soft bread and silky cheesecake filling, it’s a treat you’ll want to enjoy again and again. Whether you stick to the classic or experiment with the variations, this recipe is destined to steal hearts at your table.
Related Posts
- Brownie rolls
- Red Velvet Cinnamon Rolls with Cream Cheese Icing
- Cheesecake-Stuffed Chocolate Chip Cookies
King’s Hawaiian Cheesecake Danish

The King’s Hawaiian Cheesecake Danish is a delightful dessert combining the fluffy, sweet King’s Hawaiian bread with a smooth, creamy cheesecake filling. Perfectly balanced in sweetness and texture, this treat is ideal for breakfast, brunch, or as a comforting snack. Easy to make with simple ingredients, it offers versatility for customization and is sure to be a crowd-pleaser.
- Prep Time: 10 minutes
- Cook Time: 15-20 minutes
- Total Time: 25-30 minutes
- Yield: 6-8 servings
- Category: Dessert
- Method: Baking
- Cuisine: American
- Diet: Gluten Free (if using gluten-free King's Hawaiian-style bread)
Ingredients
Main Ingredients
- King’s Hawaiian Bread – 1 loaf (sliced into thick pieces)
- Cream Cheese – 8 oz, softened
- Sugar – 1/4 cup
- Vanilla Extract – 1 teaspoon
- Egg – 1 large, room temperature
- Butter – 2 tablespoons, melted or softened (for brushing)
Instructions
- Prepare the Cheesecake Filling: In a bowl, beat the softened cream cheese until smooth. Add sugar, egg, and vanilla extract, mixing continuously until the mixture is creamy, smooth, and free of lumps.
- Slice the King’s Hawaiian Bread: Using fresh King’s Hawaiian bread, slice it into thick rounds or pieces suitable to hold the cheesecake filling without breaking.
- Assemble the Danish: Spread a generous layer of the cheesecake filling onto each bread slice, leaving a small border around the edges to prevent the filling from spilling over while baking.
- Bake to Perfection: Preheat the oven to 350°F (175°C). Place the filled bread slices on a baking tray lined with parchment paper and bake for 15-20 minutes, or until the cheesecake filling is set and lightly golden on top.
- Cool and Serve: Allow the danish to cool slightly before serving to let the filling firm up just enough while keeping its creamy texture intact.
Notes
- Use room temperature cream cheese and egg for a smoother filling without lumps.
- Do not overfill the bread slices to avoid overflow during baking.
- Fresh King’s Hawaiian bread ensures maximum softness and the best texture.
- Watch the baking time closely to prevent drying out the bread or over-firming the filling.
- Optional: Add cinnamon or lemon zest to the filling for extra flavor dimension.
Nutrition
- Serving Size: 1 danish
- Calories: 250
- Sugar: 10g
- Sodium: 180mg
- Fat: 15g
- Saturated Fat: 8g
- Unsaturated Fat: 5g
- Trans Fat: 0g
- Carbohydrates: 20g
- Fiber: 1g
- Protein: 5g
- Cholesterol: 55mg
Keywords: King's Hawaiian, Cheesecake Danish, Dessert, Breakfast, Sweet Bread, Cream Cheese Filling, Easy Bake, Glorious Treat